Lab 3: Preparation and sterilization of culture.


Introduction

A growth medium or culture medium is a liquid or gel designed to support the growth of microorganisms or cells, or small plants like the moss Physcomitrella patens. There are different types of media for growing different types of cells.
There are two major types of growth media: those used for cell culture, which use specific cell types derived from plants or animals, and microbiological culture, which are used for growing microorganisms, such as bacteria or yeast


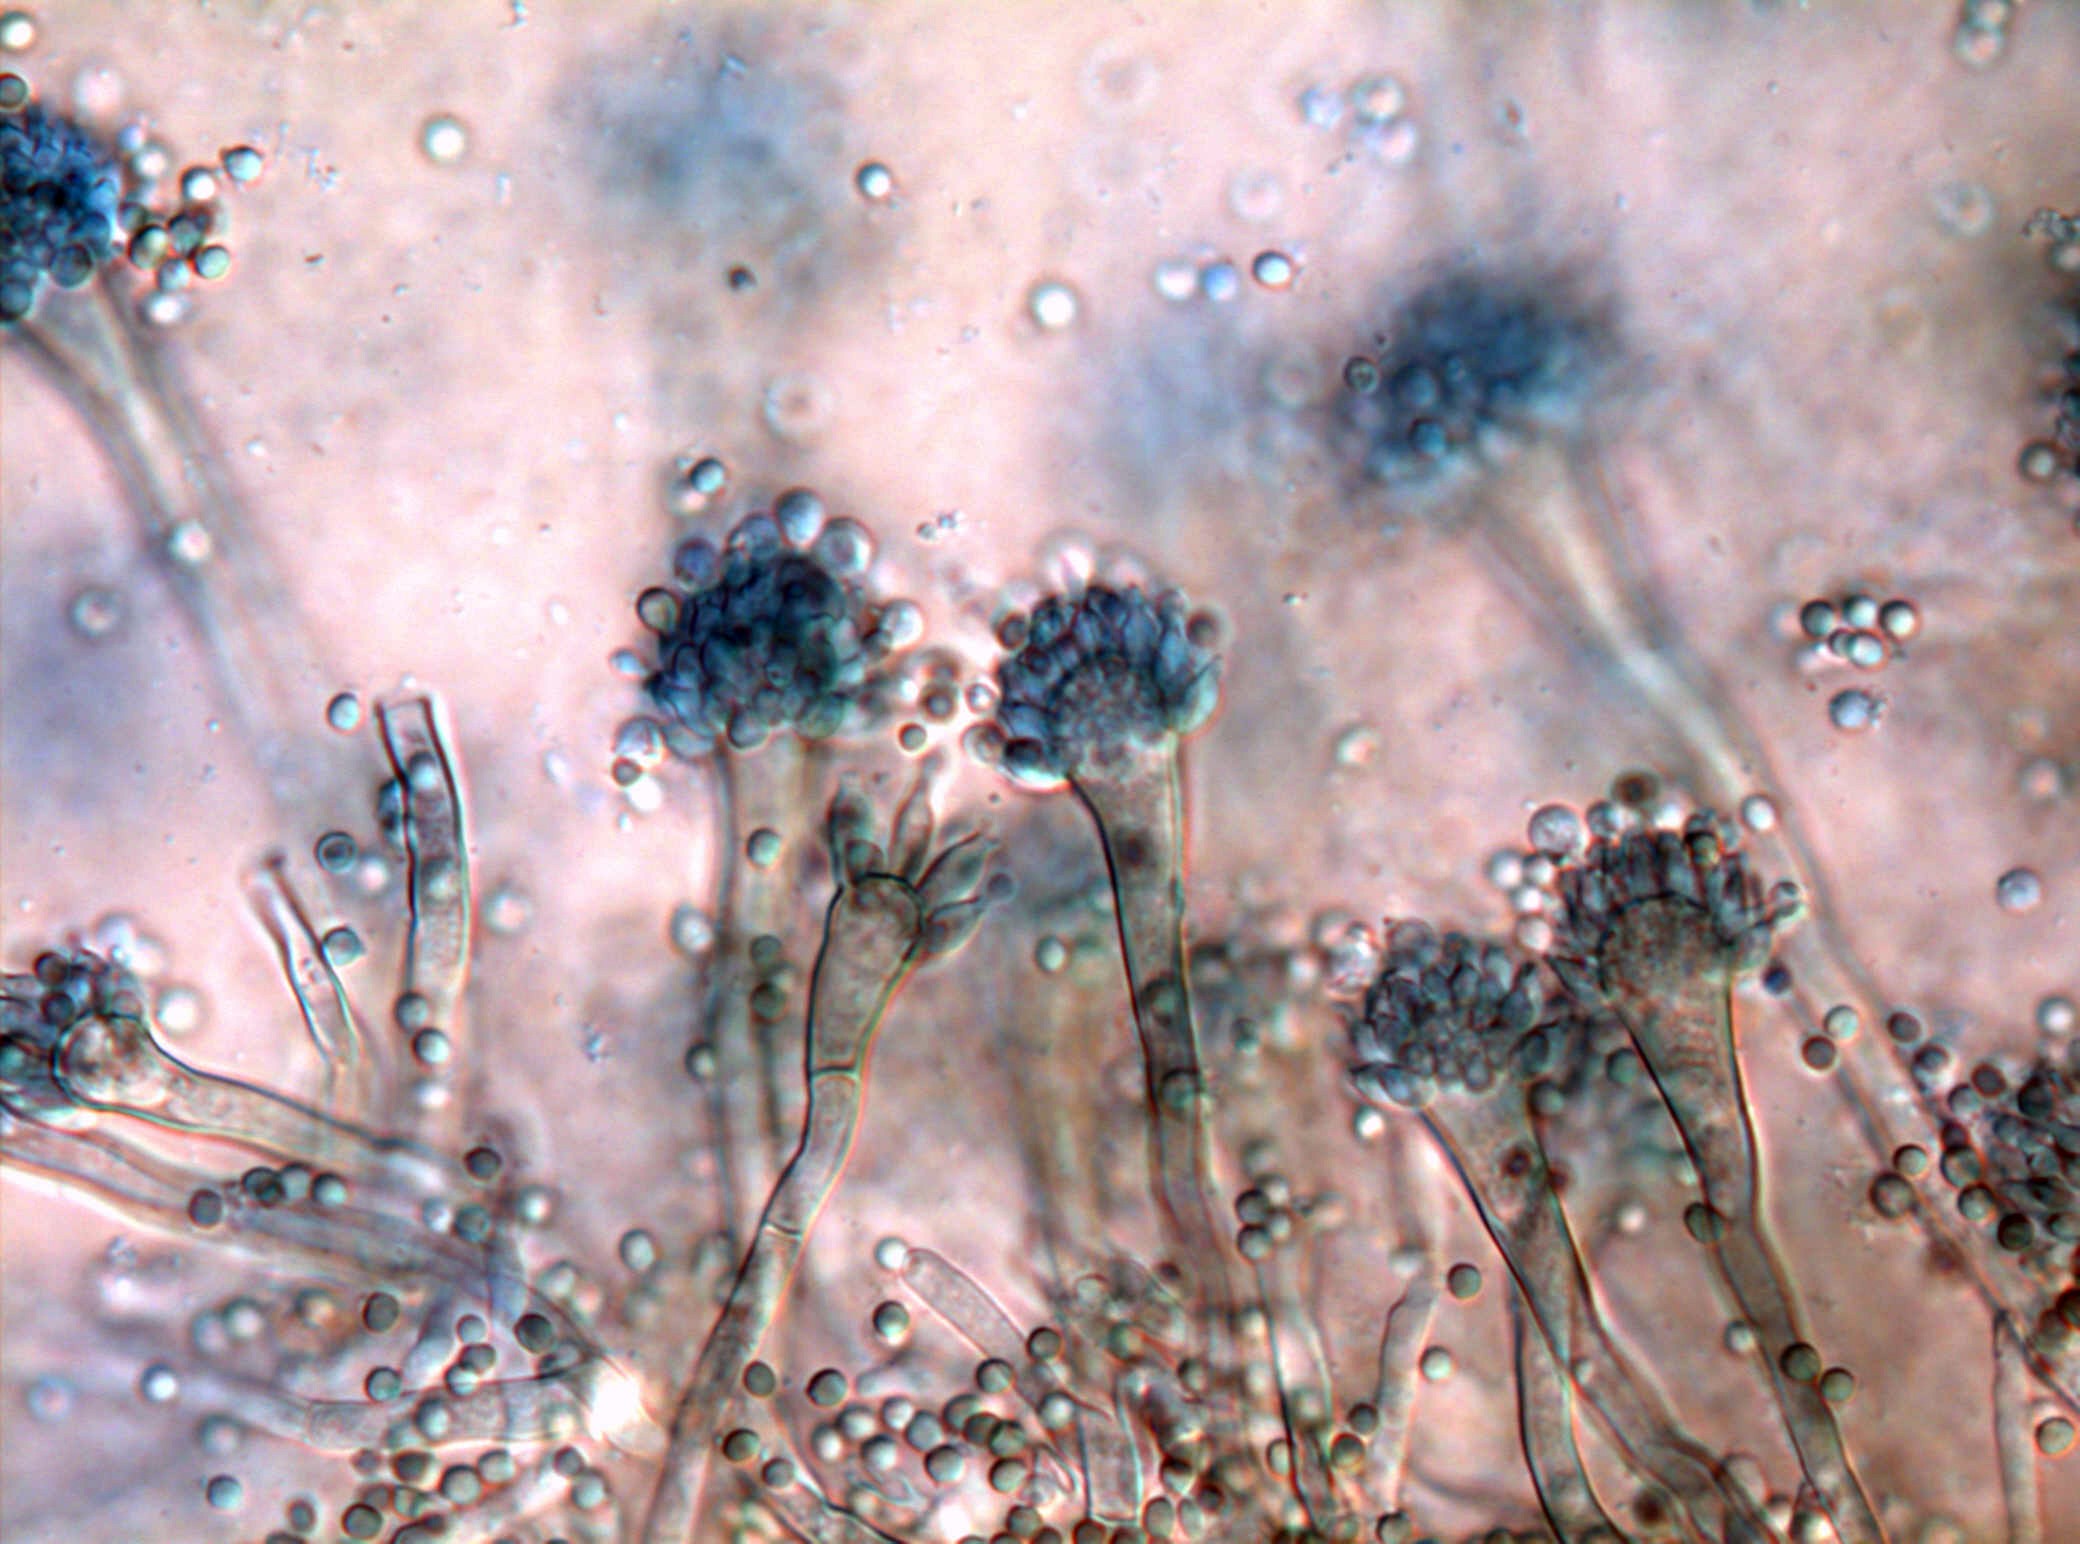
Figure 1 An agar plate with microorganisms isolated from a deep-water sponge

This is an undefined medium because the amino acid source contains a variety of compounds with the exact composition being unknown. Nutrient media contain all the elements that most bacteria need for growth and are non-selective, so they are used for the general cultivation and maintenance of bacteria kept in laboratory culture collections.

Physcomitrella patens plants growingaxenically on agar plates (Petri dish, 9 cm diameter).
An undefined medium (also known as a basal or complex medium) is a medium that contains:

                                  1. a carbon source such as glucose for bacterial growth
                                  2. water
                                  3. various salts needed for bacterial growth
                                  4. Defined media (also known as chemically defined media or 
                                      synthetic media)
                                  5. all the chemicals used are known does not contain any yeast, 
                                      animal or plant tissue.
                                  6. Differential medium
                                  7. some sort of indicator, typically a dye, is added, that allows for the 
                                      differentiation of particular chemical reactions occurring during growth.


Figure 2 Physcomitrella patens plants growing axenically in vitro on agar plates (Petri dish, 9cm diameter)


An autoclave is a device used to sterilize equipment and supplies by subjecting them to high pressure saturated steam at 121 °C or more, typically for 15–20 minutes depending on the size of the load and the contents. It was invented by Charles Chamberland in 1879, although a precursor known as thesteam digester was created by Denis Papin in 1679. The name comes from Greek auto-, ultimately meaning self, and Latin clavis meaning key — a self-locking device.
Condition: 134 °C for 3 minutes or 121 °C for 15 minutes


Figure 3 Autoclave in our lab


Figure 4 Control panel for the autoclave


Discussion

Preparation:

1.            Nutrient Agar                                                     250ml
2.            Sterile Water                                                     100ml
3.            Sterile Beaker                                                    (1 bottle = 250ml)
4.            1 ml & 5 ml Pipette tips                                      (1 box each)
5.            Double Strengh MRS broth                                100ml
6.            Peptone                                                             250ml
7.            Universal bottles + paper                                  (1 bottle + 10 pieces of paper disk)
8.            Forcep                                                               1
9.            TSA Agar (A)                                                       200ml
10.          BHI Agar (B)                                                       200ml
11.          Centrifuge Tubes (C)                                         (15 ml x 30)
12.          Sterile universal bottle (D)                                30 bottles
13.          MRS broth (E)                                                    500ml dispense into 60 bottles
                                                                                         of universal bottle


Figure 4 MRS Brooth powder


Preparation of MRS broth:

To prepare 100ml of MRS broth solution:

Single strenght                                                                  52.25g / 10 = 5.225g
Double strength                                                                 5.225g x 2 = 10.45g

To prepare Nutrient agar:

1000ml of nutrient agar solution need 28g of nutrient agar powder
250ml of solution need 7 g of nutrient agar powder.

Nutrient agar is a microbiological growth medium commonly used for the routine cultivation of non-fastidious bacteria. It is useful because it remains solid even at relatively high temperatures. Also, bacteria grown in nutrient agar grows on the surface, and is clearly visible as small colonies. In nutrient broth, the bacteria grows in the liquid, and is seen as a soupy substance, not as clearly distinguishable clumps.

A widely-used method for heat sterilization is the autoclave, sometimes called a converter. Autoclaves commonly use steam heated to 121–134 °C (250–273 °F). To achieve sterility, a holding time of at least 15 minutes at 121 °C (250 °F) or 3 minutes at 134 °C (273 °F) is required. Additional sterilizing time is usually required for liquids and instruments packed in layers of cloth, as they may take longer to reach the required temperature (unnecessary in machines that grind the contents prior to sterilization). Following sterilization, liquids in a pressurized autoclave must be cooled slowly to avoid boiling over when the pressure is released. Modern converters operate around this problem by gradually depressing the sterilization chamber and allowing liquids to evaporate under a negative pressure, while cooling the contents.
Proper autoclave treatment will inactivate all fungi, bacteria, viruses and also bacterial spores, which can be quite resistant. It will not necessarily eliminate all prions.
For effective sterilization, steam needs to penetrate the autoclave load uniformly, so an autoclave must not be overcrowded, and the lids of bottles and containers must be left ajar. Alternatively steam penetration can be achieved by shredding the waste in some Autoclave models that also render the end product unrecognizable. During the initial heating of the chamber, residual air must be removed. Indicators should be placed in the most difficult places for the steam to reach to ensure that steam actually penetrates there.
To ensure the autoclaving process was able to cause sterilization, most autoclaves have meters and charts that record or display pertinent information such as temperature and pressure as a function of time. Indicator tape is often placed on packages of products prior to autoclaving. A chemical in the tape will change color when the appropriate conditions have been met. Some types of packaging have built-in indicators on them.

Conclusion

This report has identified the correct way to prepare a culture media. In this report, the type of culture media used is nutrient agar which prepare suitable medium for microorganisms growth. In order to culture the microorganisms in the nutrient agar, few steps of sterilization was taken to avoid any contamination on the colony.
Autoclaving is the process used to sterilize the nutrient agar. The media was inserted into an autoclave which is a large pressure cooker. The chamber provided high temperature and pressurized steam.

References


LAB 2: Measurement and Counting of Cells Using Microscope

OCULAR MICROMETER

Introduction


An ocular micrometer is a glass disk that attaches to a microscope's eyepiece. An ocular micrometer has a ruler that allows the user to measure the size of magnified objects. The distance between the marks on the ruler depends upon the degree of magnification. The ruler on a typical ocular micrometer has between 50 to 100 individual marks, is 2 mm long and has a distance of 0.01 mm between marks.


The main purpose of ocular micrometer is to measuer the size of microorganism. The ocular micrometer consists of 2 main scales that are stage scale and ocular scales.


To use this micrometer, we must loacte the ocular scale at the out microscope eyepiece to allow for measurements of objects being viewed. The other scale called stage scales locate at the special slide that contain scales.


Result

We use ocular micrometer to measure the bacterial cell under different magnification. 


Discussion


An ocular micrometer is a glass disk that attaches to a microscope's eyepiece. An ocular micrometer has a ruler that allows the user to measure the size of magnified objects. The distance between the marks on the ruler depends upon the degree of magnification. The ruler on a typical ocular micrometer has between 50 to 100 individual marks, is 2 mm long and has a distance of 0.01 mm between marks.


ocular micrometer


How to use a ocular micrometer


1.      Measure the actual size of the letter on the microscope slide using the millimeter ruler. This measurement will help you calibrate the ocular micrometer to determine if it is giving you accurate measurements.


2.      Attach the ocular micrometer to the microscope eyepiece by unscrewing the eyepiece cap, placing the ocular micrometer over the lens and screwing the eyepiece cap back into place. Some microscopes may have an ocular micrometer pre-installed, allowing you to skip this step


3.      Slide the stage micrometer onto the microscope slide stage. Adjust the microscope to the lowest possible magnification, which should bring the grid on the stage micrometer into focus.

stage ocular


4.      Move the stage micrometer until the measurement marks on the ocular micrometer align with the measurement marks on the stage micrometer. The measurement "0" on the ocular micrometer should line up with the measurement "0.0" on the stage micrometer.


5.      Count the number of measurement marks until the measurements of both the micrometers line up again. At 4x magnification (the lowest setting on most microscopes), the two micrometers will line up again at "3" on the ocular micrometer and "0.3" on the stage micrometer.


6.      Write down the number of measurement marks between the aligning measurements for the two micrometers. The distance between measurement marks is 0.01 mm, so you can now determine the distance between coinciding measurement marks. Repeat the exercise at higher magnifications (10x, 40x and 100x), and record these values as well.


7.      Use the calibrated ocular micrometer to measure the dimensions of the letter printed on your slide. Compare the dimensions to the dimensions you measured with the millimeter ruler to ensure that the ocular micrometer is functioning properly.


      Before using an ocular micrometer, we must calibrated it first. A typical scale consists of 50 - 100 divisions. You may have to adjust the focus of your eyepiece in order to make the scale as sharp as possible. If you do that, also adjust the other eyepiece to match the focus. Any ocular scale must be calibrated, using a device called a stage micrometer.A stage micrometer is simply a microscope slide with a scale etched on the surface. A typical micrometer scale is 2 mm long and at least part of it should be etched with divisions of 0.01 mm (10 µm).


   Suppose that a stage micrometer scale has divisions that are equal to 0.1 mm, which is 100 micrometers (µm). Suppose that the scale is lined up with the ocular scale, and at 100x it is observed that each micrometer division covers the same distance as 10 ocular divisions. Then one ocular division (smallest increment on the scale) = 10 µm at 100 power. The conversion to other magnifications is accomplished by factoring in the difference in magnification. In the example, the calibration would be 25 µm at 40x, 2.5 µm at 400x, and 1 µm at 1000x.Some stage micrometers are finely divided only at one end. These are particularly useful for determining the diameter of a microscope field. One of the larger divisions is positioned at one edge of the field of view, so that the fine part of the scale ovelaps the opposite side. The field diameter can then be determined to the maximum available precision.


Conclusion

1.   This report has identified the correct way to calibrate ocular micrometer.  Ocular micrometer has a ruler that allows the user to measure the size of magnified objects. A special slides which contains scales also used to place the objects being observed. Besides, this report also show how to calculate the scale using stage scale and ocular eyepiece. By learning these, small particles such as microorganisms or cell can be measure and the size can be compared. 
t

References


NEUBAUER CHAMBER

Introduction


A device used for determining the number of cells per unit volume of a suspension is called a counting chamber. The most widely used type of chamber is called a hemocytometer, since it was originally designed for performing blood cell counts.


It is essential to be extremely careful with higher power objectives, since the counting chamber is much thicker than a conventional slide. One entire grid on standard hemacytometers with Neubauer rulings can be seen at 40x (4x objective). The main divisions separate the grid into 9 large squares (like a tic-tac-toe grid). Each square has a surface area of one square mm, and the depth of the chamber is 0.1 mm. Thus the entire counting grid lies under a volume of 0.9 mm-cubed.
Suspensions should be dilute enough so that the cells or other particles do not overlap each other on the grid, and should be uniformly distributed. To perform the count, determine the magnification needed to recognize the desired cell type. 


Result


Discussion

Using a Counting Chamber
  1. To prepare the counting chamber the mirror-like polished surface is carefully cleaned with lens paper.    The coverslip is also cleaned.
  2. Coverslips for counting chambers are specially made and are thicker than those for conventional microscopy, since they must be heavy enough to overcome the surface tension of a drop of liquid.
  3. The coverslip is placed over the counting surface prior to putting on the cell suspension. The suspension is introduced into one of the H-shaped wells with a pasteur or other type of pipet.
  4. The area under the coverslip fills by capillary action. Enough liquid should be introduced so that the mirrored surface is just covered.
  5. The charged counting chamber is then placed on the microscope stage and the counting grid is brought into focus at low power.
  6. Here is a way to determine a particle count using a Neubauer hemocytometer. Suppose that you conduct a count as described above, and count 187 particles in the five small squares described.
  7. Each square has an area of 1/25 mm-squared (that is, 0.04 mm-squared) and depth of 0.1 mm. The total volume in each square is (0.04)x(0.1) = 0.004 mm-cubed. You have five squares with combined volume of 5x(0.004) = 0.02 mm-cubed.
  8. Thus you counted 187 particles in a volume of 0.02 mm-cubed, giving you 187/(0.02) = 9350 particles per mm-cubed. There are 1000 cubic millimeters in one cubic centimeter (same as a milliliter), so your particle count is 9,350,000 per ml.


Conclusion

This report has identified how to use the Neubauer Chamber. This special chamber is a heavy glass slide with two counting areas separated by a H-shaped trough. A special coverslip is placed over the counting areas. When the slide observed via microscope, the sample was viewed on the many grids.  These grids helps to count the cells under the microscope. 


 References


  1. www.ruf.rice.edu/~bioslabs/methods/.../cellcounting.html
  2. http://upload.wikimedia.org/wikipedia/commons/b/bf/Neubauer_improved_with_cells.jpg
  3. www.emsdiasum.com/microscopy/products/.../counting.aspx
  4. en.wikipedia.org/.../File:Neubauer_improved_counting_chamber.jpg
  5. www.mohfw.nic.in/.../IMPROVED%20NEUBAUER%20COUNTING%20CHAMBER.htm
  6. www.protocol-online.org/biology-forums-2/posts/15366.html


INTRODUCTION

A microorganism is an organism that cannot seen by our naked eyes. It lives in a single unit or in a colony of cellular organism. The first microorganism discovered is by Anton van Leewenhoek’s in 1975 by using his own microscope.
Anton van Leewenhoek’s


There are many classes of bacteria such as bacteria, fungi, archaea, and protists.
Because of microorganism is in very small in size, so that in order to see it, a microscope must be use. Microscope is a kind of machine that used to magnified the view of small particle or things.
A microscope is an equipment used to see object that cannot be seen by our naked eyes because of their size is too small. Microscopic means the things that invisible to our eyes unless aided by a microscope.


There are  parts in microscope that makes microscope functioning:

  1. Eyepiece Lens: the lens that used to look the specimen. They have 2 types of power lens that are 10x and 15x.
  2. Arm: supports the eyepiece lens holder on the base.
  3. Illuminator: light used in order to replace sunlight.
  4. Stage: platform that has hole at the middle to allow light from illuminator to pass through the slide contain specimen. This stages can be move.
  5. Objective Lenses: function to magnify the specimen into particular lenses power to obtain excellence view. It contain 3 to 4 objectives lenses that are 4x, 10x, 40x and 100x.
  6. Condenser Lens: function to focus light from illuminator direct to specimen.
  7. Coarse and Fine Focus: function to adjust the stage to get the best image view.
Nowadays there are so many types of microscope created in order to help scientist, researcher or people to discover new things more easier. 
That are:


Compound Microscope

Compound microscope is an optical device used to magnifying image and use system of combining of lenses.


Digital Microscope
Digital microscope use camera at the eyepiece to capture the image produce from the slide.


Fluoresence Microscope


Fluorescence microscope use reflection and fluorescence to light up the specimen to get excellence result.

There are many types of microscope rather than examples given. So that, this machine can help people to make research and discover new things.


Think about what you are looking for

 It is a lot harder to find something when you have no expectations as to its appearance. How big is it? Will it be moving? Is it pigmented or stained, and if so what is its color? Where do you expect to find it on a slide? For example, students typically have a lot of trouble finding stained bacteria because with the unaided eye and at low magnifications the stuff looks like dirt. It helps to know that as smears dry down they usually leave rings so that the edge of a smear usually has the densest concentration of cells.


Focus, locate, and center the specimen

Start with the lowest magnification objective lens, to home in on the specimen and/or the part of the specimen you wish to examine. It is rather easy to find and focus on sections of tissues, especially if they are fixed and stained, as with most prepared slides. However it can be very difficult to locate living, minute specimens such as bacteria or unpigmented protists. A suspension of yeast cells makes a good practice specimen for finding difficult objects.
  • Use dark field mode (if available) to find unstained specimens. If not, start with high contrast (aperture diaphragm closed down).
  • Start with the specimen out of focus so that the stage and objective must be brought closer together. The first surface to come into focus as you bring stage and objective together is the top of the cover slip. With smears, a cover slip is frequently not used, so the first thing you see is the smear itself.
  • If you are having trouble, focus on the edge of the cover slip or an air bubble, or something that you can readily recognize. The top edge of the cover slip comes into focus first, then the bottom, which should be in the same plane as your specimen.
  • Once you have found the specimen, adjust contrast and intensity of illumination, and move the slide around until you have a good area for viewing.
Adjust eyepiece separation, focus


With a single ocular, there is nothing to do with the eyepiece except to keep it clean. With a binocular microscope (preferred) you need to adjust the eyepiece separation just like you do a pair of binoculars. Binocular vision is much more sensitive to light and detail than monocular vision, so if you have a binocular microscope, take advantage of it.
One or both of the eyepieces may be a telescoping eyepiece, that is, you can focus it. Since very few people have eyes that are perfectly matched, most of us need to focus one eyepiece to match the other image. Look with the appropriate eye into the fixed eyepiece and focus with the microscope focus knob. Next, look into the adjustable eyepiece (with the other eye of course), and adjust the eyepiece, not the microscope.


Select an objective lens for viewing

The lowest power lens is usually 3.5 or 4x, and is used primarily for initially finding specimens. We sometimes call it the scanning lens for that reason. The most frequently used objective lens is the 10x lens, which gives a final magnification of 100x with a 10x ocular lens. For very small protists and for details in prepared slides such as cell organelles or mitotic figures, you will need a higher magnification. Typical high magnification lenses are 40x and 97x or 100x. The latter two magnifications are used exclusively with oil in order to improve resolution.

Move up in magnification by steps. Each time you go to a higher power objective, re-focus and re-center the specimen. Higher magnification lenses must be physically closer to the specimen itself, which poses the risk of jamming the objective into the specimen. Be very cautious when focusing. By the way, good quality sets of lenses are parfocal, that is, when you switch magnifications the specimen remains in focus or close to focused.

Bigger is not always better. All specimens have three dimensions, and unless a specimen is extremely thin you will be unable to focus with a high magnification objective. The higher the magnification, the harder it is to "chase" a moving specimen.


Adjust illumination for the selected objective lens


The apparent field of an eyepiece is constant regardless of magnification used. So it follows that when you raise magnification the area of illuminated specimen you see is smaller. Since you are looking at a smaller area, less light reaches the eye, and the image darkens. With a low power objective you may have to cut down on illumination intensity. With a high power you need all the light you can get, especially with less expensive microscopes.

When to use bright field microscopy

Bright field microscopy is best suited to viewing stained or naturally pigmented specimens such as stained prepared slides of tissue sections or living photosynthetic organisms. It is useless for living specimens of bacteria, and inferior for non-photosynthetic protists or metazoans, or unstained cell suspensions or tissue sections. Here is a not-so-complete list of specimens that might be observed using bright-field microscopy, and appropriate magnifications (preferred final magnifications are emphasized).
  • Prepared slides, stained - bacteria (1000x), thick tissue sections (100x, 400x), thin sections with condensed chromosomes or specially stained organelles (1000x), large protists or metazoans (100x).
  • Smears, stained - blood (400x, 1000x), negative stained bacteria (400x, 1000x).
  • Living preparations (wet mounts, unstained) - pond water (40x, 100x, 400x), living protists or metazoans (40x, 100x, 400x occasionally), algae and other microscopic plant material (40x, 100x, 400x). Smaller specimens will be difficult to observe without distortion, especially if they have no pigmentation.
Care of the microscope
  • EVERYTHING on a good quality microscope is unbelievably expensive, so be careful.
  • Hold a microscope firmly by the stand, only. Never grab it by the eyepiece holder, for example.
  • Hold the plug (not the cable) when unplugging the illuminator.
  • Since bulbs are expensive, and have a limited life, turn the illuminator off when you are done.
  • Always make sure the stage and lenses are clean before putting away the microscope.
  • NEVER use a paper towel, a kimwipe, your shirt, or any material other than good quality lens tissue or a cotton swab (must be 100% natural cotton) to clean an optical surface. Be gentle! You may use an appropriate lens cleaner or distilled water to help remove dried material. Organic solvents may separate or damage the lens elements or coatings.
  • Cover the instrument with a dust jacket when not in use.
  • Focus smoothly; don't try to speed through the focusing process or force anything. For example if you encounter increased resistance when focusing then you've probably reached a limit and you are going in the wrong direction.


Result


Species: Bacillus sp.
Magnification: 400X


Species: Clostridium Perfringens sp.
Magnification: 400X


Species: Aspergillus sp.
Magnification: 100X


Species: Penicillum sp.
Magnification: 100X


 Disscusion


Gram staining (or Gram's method) is an empirical method of differentiating bacterial species into two large groups (Gram-positive and Gram-negative) based on the chemical, primarily the presence of high levels of peptidoglycan, and physical properties of their cell walls. The Gram stain is almost always the first step in the identification of a bacterial organism. While Gram staining is a valuable diagnostic tool in both clinical and research settings, not all bacteria can be definitively classified by this technique, thus forming Gram-variable and Gram-indeterminate groups as well.
The word Gram is always spelled with a capital, referring to Hans Christian Gram, the inventor of Gram staining.

Gram staining is a bacteriological laboratory technique used to differentiate bacterial species into two large groups (Gram-positive and Gram-negative) based on the physical properties of their cell walls.Gram staining is not used to classify archaea, formally archaeabacteria, since these microorganisms yield widely varying responses that do not follow their phylogenetic groups.
The Gram stain is not an infallible tool for diagnosis, identification, or phylogeny, however. It is of extremely limited use in environmental microbiology, and has been largely superseded by molecular techniques even in the medical microbiology lab. Some organisms are Gram-variable (that means, they may stain either negative or positive); some organisms are not susceptible to either stain used by the Gram technique. In a modern environmental or molecular microbiology lab, most identification is done using genetic sequences and other molecular techniques, which are far more specific and information-rich than differential staining.

Gram-negative bacteria

Main article: Gram-negative bacteria
The proteobacteria are a major group of Gram-negative bacteria. Other notable groups of Gram-negative bacteria include the cyanobacteria, spirochaetes, green sulfur, and green non-sulfur bacteria.
These also include many medically relevant Gram-negative cocci, bacilli, and many bacteria associated with nosocomial infections.

Gram-positive bacteria

Main article: Gram-positive bacteria
In the original bacterial phyla, the Gram-positive forms made up the phylum Firmicutes, a name now used for the largest group. It includes many well-known genera such as Bacillus, Listeria,Staphylococcus, Streptococcus, Enterococcus, and Clostridium. It has also been expanded to include the Mollicutes, bacteria like Mycoplasma that lack cell walls and so cannot be stained by Gram, but are derived from such forms.

  1. Bacillus sp.:


Bacillus sp. Is genus of gram postive od shape bacteria. It has oth free living and pathogenic species. It form class Bacilli, family Bacillaceae and genus Bacillus. Two species are considered medically significant, B. anthracis cause anthrax and B. thuringiensis is an important pathogen. We can control the diesease by:
  • Sanitary: Decontamination of infected animal products, deep burial of animal carcasses and the use of protective clothing can reduce the incidence of anthrax. Proper food handling, preparation and storage are essential to preventing food poisoning.
  • Immunological: An avirulent spore vaccine for animals and those at high risk is available against anthrax. 
  • Chemotherapeutic: Penicillin, erythromycin or tetracycline are drugs of choice for anthrax.


  1. Clostridium Perfringen sp.


Clostridium perfringens sp. Is a gram positive, rod shaped, anaerobic. It come from kingdom bactria, class Clostridia, famiy Clostridiaceae, genus Clostridium and form species C.  Perfringens. C. perfringens is a human pathogen sometimes, and other times it can be ingested and not cause any harm. Clostridium perfringens is commonly encountered in infections as a component of the normal flora.  In this case, its role in disease is minor.

  1. Penicillum sp.


Penicillium  is a genus of ascomycetous fungi of major importance in the natural environment as well as food and drug production. It produces penicillin, a molecule that is used as an antibiotic, which kills or stops the growth of certain kinds of bacteria inside the body. It from class Eurotiomycetes, Order Eurotiales, family Trichocomaceae and genus Penicillium sp.
  1. Aspergillus sp.


Aspergillus is a genus consisting of several hundred mold species found in various climates worldwide. Aspergillus was first catalogued in 1729 by the Italian priest and biologist Pier Antonio Micheli. Viewing the fungi under a microscope, Micheli was reminded of the shape of an aspergillum (holy water sprinkler), from Latin spargere (to sprinkle), and named the genus accordingly. Today "aspergillum" is also the name of an asexual spore-forming structure common to all Aspergilli; around one-third of species are also known to have a sexual stage. It from class Eurotiomycetes, Order Eurotiales, Family Trichocomaceae and genus Aspergillus sp.


Conclusion

This report has identified the correct way to view sample of microorganisms by using simple bright-field microscope. Different species of micrrorganisms was observed under different magnification to examine the structure and size of micrrorganisms.

Reference

  1. en.wikipedia.org/wiki/Gram_staining
  2. http://www.digitaljournal.com/img/2/4/3/0/2/0/i/4/2/2/o/Bacillus_anthracis_Gram.jpg
  3. http://archive.microbelibrary.org/microbelibrary/files/ccImages/Articleimages/Atlas-Gram/Bacillus%20cereus%20fig2.jpg
  4. http://www.textbookofbacteriology.net/nfC.perfringens4.jpeg
  5. http://www.cehs.siu.edu/fix/medmicro/bacil.htm
  6. http://www.foodylife.com/wp-content/uploads/2009/04/e_coli_o157h7-food_origin_pathogens_clostridium_perfringens_and_escherichia_coli_ecoli-365x301.jpg
  7. http://en.wikipedia.org/wiki/Clostridium_perfringens
  8. http://en.wikipedia.org/wiki/Penicillium
  9. http://wapedia.mobi/thumb/3ad1500/en/fixed/470/353/Staphylococcus_aureus_Gram.jpg?format=jpg
  10. http://pathmicro.med.sc.edu/mycology/candidaalbicans.jpg
  11. http://sms-home.com/images/Rose.jpg
  12. http://www.schimmel-schimmelpilze.de/images/aspergillus-08.jpg
  13. http://en.wikipedia.org/wiki/Aspergillus
  14. http://www.ruf.rice.edu/~bioslabs/methods/microscopy/microscopy.html


our COMMITMENT!!!!!!!